The search for a unique photographic style doesn’t end with buying a vintage lens; it begins by treating optical “flaws” as a deliberate artistic palette.
- Technical perfection is often narratively sterile; curated imperfection conveys emotion.
- Optical artifacts like flare, aberration, and bokeh are powerful tools for storytelling, not just random effects.
Recommendation: Stop chasing generic “character” and start building a personal palette of optical pigments to tell a more resonant story.
The digital landscape is flooded with images of breathtaking sharpness, perfect color, and clinical precision. Modern lenses have achieved a level of technical perfection so absolute that it has become an anonymous, ubiquitous standard. For many photographers, this sterile perfection feels like a creative dead end. The common advice is to seek refuge in the past: buy a vintage lens, embrace its “character,” and instantly acquire a unique style. But this is a dangerous oversimplification.
True artistic identity isn’t a commodity you can buy on eBay. It’s not found in the swirly bokeh of a Helios 44-2 or the radioactive glow of a Takumar. These are merely tools. The real rebellion lies not in abandoning modern optics, but in rejecting the very notion of a “perfect” lens altogether. It’s about a radical shift in perspective: what if technical “flaws”—chromatic aberration, lens flare, distortion, and softness—aren’t flaws at all? What if they are the fundamental pigments of a visual language, capable of conveying emotion, psychology, and narrative in a way that technical perfection cannot?
This guide is a manifesto for the deliberate artist. We will deconstruct the idea of optical perfection and reframe it as a choice, not a goal. You will learn to see your lens kit not as a hierarchy of quality, but as a painter’s palette of emotional brushes. We will explore how to consciously select and control these “imperfections” to build a photographic style that is not just unique, but deeply resonant and undeniably yours.
To guide you on this experimental journey, this article breaks down the core philosophies and practical techniques for mastering a new optical language. The following sections will equip you with the knowledge to move from randomly applying effects to deliberately crafting emotion.
Summary: A Manifesto for Flawed, Honest Photography
- Why Are Chromatic Aberrations Sometimes Desirable in Art?
- How to Create DIY Lens Effects with Household Objects?
- Helios 44-2 or Canon L Series: Which Best Serves Artistic Portraiture?
- The Modification Error That Can Damage Your Camera Sensor
- When to Switch Back to Sharp Lenses During a Project?
- Vintage Glass vs. Modern Filters: Which Yields the Best Dream Look?
- 35mm vs. 50mm: Which Prime Lens Tells a More Honest Story?
- How to Replicate the Gum Bichromate Look Digitally?
Why Are Chromatic Aberrations Sometimes Desirable in Art?
Chromatic aberration, the technical term for color fringing, is an artifact that lens manufacturers have spent billions to eliminate. It’s seen as an objective failure of the lens to focus all wavelengths of color onto the same plane. But in art, objectivity is a cage. This “failure” can be a powerful aesthetic tool. By separating color channels, you introduce a visual vibration, a sense of instability that mimics the glitches of memory, dreams, or psychological distress. It breaks the illusion of a perfect window into reality and reminds the viewer that they are looking at a constructed image.
Think of the screen prints of Andy Warhol, where misregistered color layers became a hallmark of his style. The effect wasn’t a mistake; it was a statement. In photography, deliberately inducing or embracing chromatic aberration does the same. It can add a layer of unease to a serene landscape or a psychedelic energy to a portrait. As noted in Adobe’s photography guides, this effect is far from a simple error. According to Adam Long, “chromatic aberration could add a certain type of unsteadiness or psychological space within an image.” It’s an intentional introduction of noise into the signal, transforming a clean photograph into a piece with palpable atmosphere.
Embracing this “flaw” is the first step toward building your palette of optical pigments. It’s a conscious choice to prioritize mood over technical purity, transforming a lens’s supposed weakness into a narrative strength. The faint purple halo around a tree branch is no longer an error to be corrected but a brushstroke of ethereal light.
How to Create DIY Lens Effects with Household Objects?
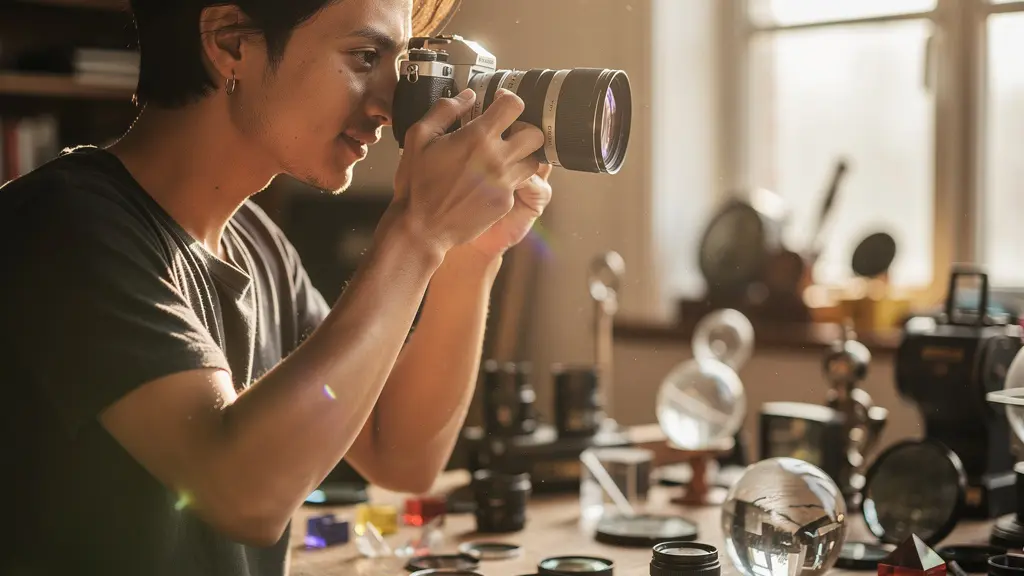
The pursuit of unique optics doesn’t have to involve hunting for expensive or rare vintage lenses. A truly experimental mindset begins with what you have. Your kitchen, your bathroom, and your desk drawer contain an entire arsenal of tools for distorting, diffusing, and reinterpreting reality. This is the punk-rock heart of alternative photography: creating a signature look not with your wallet, but with your ingenuity. It’s about applying the principle of curated imperfection with the most basic materials.
Stretching a pair of stockings over your lens creates a soft-focus bloom reminiscent of classic Hollywood. Smearing a thin layer of petroleum jelly on a UV filter (never the lens itself!) can produce a dreamy, ethereal glow. A simple drinking glass held in front of the lens can create surreal warping and reflections. These are not just “hacks”; they are legitimate techniques for manual image manipulation, forcing you to slow down and physically interact with the light entering your camera.
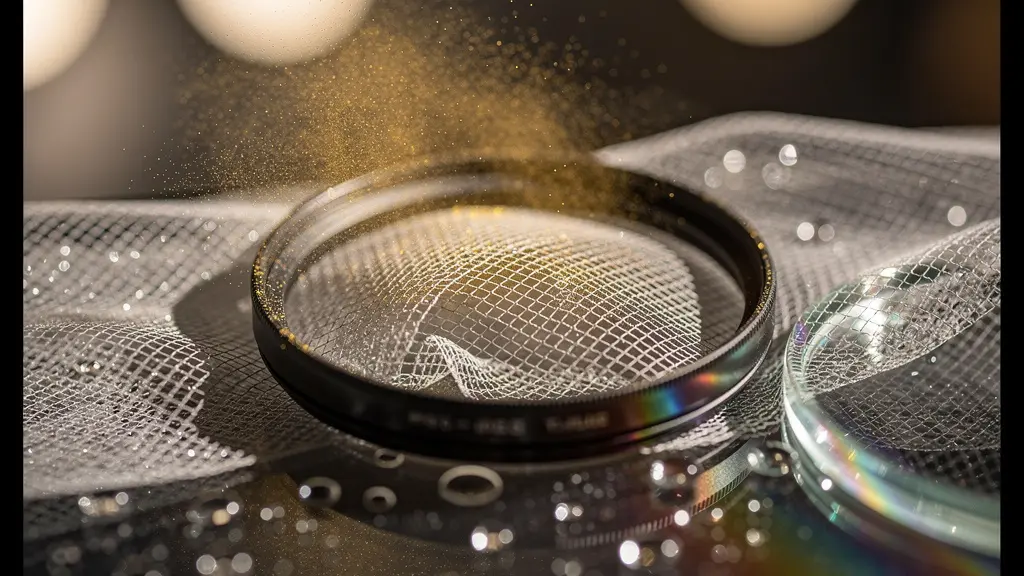
Each of these handmade filters imparts a look that is unrepeatable and uniquely yours. Unlike a digital preset, the results are organic and slightly unpredictable, forcing you to react and adapt. This process is about understanding how to bend light itself, laying the foundation for more advanced optical choices later. Mastering these simple techniques builds an intuitive understanding of diffusion, flare, and distortion.
Helios 44-2 or Canon L Series: Which Best Serves Artistic Portraiture?
This question represents the central conflict for many photographers: the cult of vintage “character” versus the church of modern “perfection.” The Helios 44-2, a cheap Soviet lens, is famous for its “flawed” swirly bokeh. A Canon L series lens is an icon of clinical sharpness and flawless autofocus. Pitting them against each other reveals a fundamental truth: it’s not a question of which is better, but of what story you want to tell. It’s a choice between technical perfection and narrative perfection.
The Canon L renders a subject with perfect isolation and creamy, unobtrusive backgrounds. It’s calm, professional, and controlled. It says, “This is a high-quality, professional image.” The Helios, with its chaotic, swirling bokeh, creates a sense of anxiety, magic, or dreamlike wonder. It wraps the subject in a vortex of light, screaming that this is not reality—it is an artistic interpretation. As Digital Photography School notes, the goal of the original manufacturers wasn’t this effect, “but that’s what happened – and as artistic photographers, it’s something we can exploit!”
The following table, based on a comparative analysis of their characteristics, clarifies the choice not as one of quality, but of intent:
| Feature | Helios 44-2 58mm f/2 | Canon L Series |
|---|---|---|
| Price Range | $30-50 USD | $1,500-3,000+ USD |
| Bokeh Character | Swirly, artistic, unique ‘defect’ | Clean, smooth, technically perfect |
| Focus System | Manual only | Fast autofocus |
| Emotional Signature | Anxiety, magic, dreamlike | Calm isolation, professional |
| Best Use Case | Artistic expression, personal projects | Commercial work, client deliverables |
Choosing the L series for a personal art project might result in a technically perfect but emotionally sterile image. Choosing the Helios for a commercial headshot might get you fired. The artist understands when to deploy each tool. The choice is a narrative one.
The Modification Error That Can Damage Your Camera Sensor
The rebellious spirit of using vintage and adapted lenses comes with a crucial caveat: rebellion without knowledge is just recklessness. While you’re busy chasing unique flares and aberrations, you can inadvertently cause permanent damage to the heart of your camera—the sensor. The most common and catastrophic error involves mounting a lens with a rear element or pin that protrudes too far, colliding with the mirror on a DSLR or, even worse, the sensor stack itself on a mirrorless camera.
This isn’t a theoretical risk. Certain Soviet-era lenses or improperly designed adapters have focusing helicoids or aperture pins that can travel past the mount flange at infinity focus. One careless turn of the focus ring can result in a scratched sensor or shattered mirror, a repair costing hundreds or thousands of dollars. The photographer’s testimony is a stark reminder of the inconsistencies in these lenses. In a review from The Runngun, a photographer warns, “A common issue found in this lens is oily aperture blades. If that oil drips onto the optics… you’re going to have a bad time.” This highlights the need for vigilance when dealing with old, unregulated equipment.
Experimentation must be balanced with meticulous procedure. Before you mount any piece of non-native glass to your expensive camera body for the first time, a pre-flight safety check is not optional; it’s essential. This discipline is what separates a professional experimenter from a careless amateur.
Your Pre-Flight Safety Checklist for Adapted Lenses
- Manually inspect rear lens element for protrusion beyond mount surface.
- Check for any protruding aperture pins that aren’t properly recessed.
- Mount lens with camera off and slowly rack focus to infinity while observing clearance.
- Test adapter flange distance accuracy with a known reference lens first.
- Inspect vintage lens for fungus that could contaminate other equipment.
- Verify adapter thickness matches required flange focal distance specifications.
When to Switch Back to Sharp Lenses During a Project?
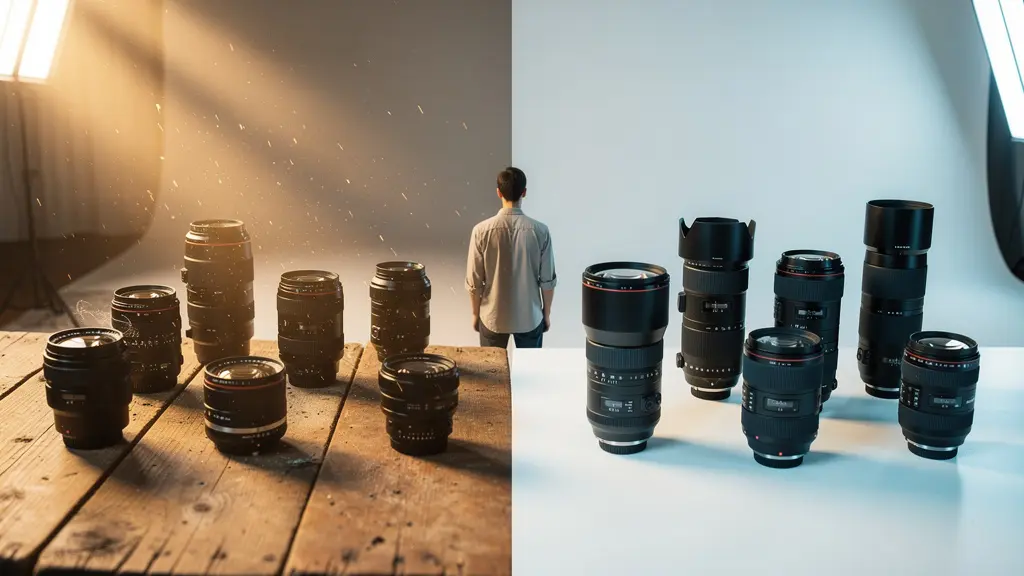
Embracing flawed optics doesn’t mean you must burn your modern, sharp lenses in a ritualistic bonfire. That would be trading one dogmatic rule for another. The true artist is a strategist, not a zealot. The most powerful application of a unique style is knowing when to break it. Switching between a “character” lens and a “clinical” lens within the same project or photoshoot can create a powerful narrative rhythm of tension and release.
Imagine a portrait series telling the story of a character’s journey. You might use a dreamy, soft-focus vintage lens for flashback sequences or moments of emotional vulnerability. Then, you switch to a razor-sharp modern prime for a moment of clarity, confrontation, or harsh reality. The sharp lens, in this context, feels even sharper, more brutally honest. The contrast between the two optical styles does the storytelling for you, creating a visual language that the viewer understands intuitively.
This is the ultimate expression of the “painter’s palette” philosophy. As one creative guide elegantly puts it, “The lens kit should be viewed not as a hierarchy of quality but as a painter’s palette of brushes.” You don’t use the same brush for the entire painting. You choose the right brush—the right optical signature—for each specific part of the story you are trying to tell. A sharp lens isn’t the enemy; it’s just another color, another tool in your expanding kit for creating emotional resonance.
Vintage Glass vs. Modern Filters: Which Yields the Best Dream Look?
To achieve an ethereal, dreamlike aesthetic, photographers are faced with a philosophical choice: bake the effect into the very DNA of the image with vintage glass, or apply it as a controllable layer with modern filters (like Tiffen’s Black Pro-Mist). This isn’t just a technical decision; it’s a debate about control, consistency, and the very nature of an in-camera effect. Do you want an organic, unrepeatable “accident” or a predictable, replicable result?
Vintage glass produces a “stacked” effect. Its dreaminess comes from a combination of organic flaws: low contrast, halation around highlights, unique flare patterns, and soft aberrations. This creates a look that is complex and hard to replicate, but it’s also inconsistent. A modern creative filter, by contrast, isolates a single characteristic—like halation—and applies it predictably. You can get the same amount of glow on a Zeiss prime as you can on a kit lens, offering consistency crucial for professional work. The choice is between a fixed optical personality and a modular, controllable effect.
| Aspect | Vintage Glass | Modern Filters |
|---|---|---|
| Character Type | Stacked organic flaws (aberrations, bokeh, flare) | Single predictable effect (e.g., halation) |
| Consistency | Unique but inconsistent | Repeatable across any lens |
| Control Level | Fixed optical DNA | Adjustable intensity |
| Investment | Hunt for specific lens, learning curve | Filter system works with all lenses |
| Professional Use | Risky for client work | Safe, predictable results |
However, the most profound difference is philosophical. As one powerful argument from a B&H Photo guide on creative effects states, an in-camera effect is not passive. “The lens is actively creating the image; post processing just interpolates pixels that aren’t there… Those in-camera framing choices that are influenced by the lens choice affect the composition… They affect you as you make that choice, and that choice ends up affecting the audience that watches it.” Choosing vintage glass is a commitment. It forces you to compose and think differently, creating a feedback loop between the artist and the tool that a simple filter cannot replicate.
35mm vs. 50mm: Which Prime Lens Tells a More Honest Story?
The debate between the 35mm and 50mm prime lenses goes far beyond their field of view. It’s a philosophical divide about proximity, perspective, and what constitutes an “honest” representation of a scene. This choice is perhaps the most fundamental one for a photographer building their lens as a psychological filter, as it dictates your physical relationship to your subject and, consequently, the viewer’s emotional relationship to the image.
The 35mm is the lens of cinéma vérité and photojournalism. Its wider perspective forces the photographer to get physically closer to the action to fill the frame. You are *in* the scene, not just observing it. This proximity creates intimacy and a sense of immersion. The slight barrel distortion at the edges makes the center of the frame feel urgent and present. It’s an honest lens in the sense that it admits the photographer’s presence and forces them to engage.
The 50mm, often called the “nifty fifty,” is the lens of the composed, decisive moment. Its field of view is closer to that of the human eye’s central vision, offering a more “natural” and less distorted perspective. It allows for a polite working distance from the subject, making the photographer an invisible observer. This is the honesty of objective documentation, a clean window onto a perfectly framed reality. Technical specifications from sources like B&H Photo show that 35mm lenses can create 15-20% more peripheral distortion than 50mm lenses at typical portrait distances, a technical fact that has profound narrative implications. One lens pulls you in, the other keeps you at arm’s length. Neither is more “honest” in an absolute sense; they simply tell different kinds of truths.
Key Takeaways
- Stop viewing optical ‘flaws’ as errors; reframe them as a palette of emotional tools to be used with intent.
- A unique style is not bought with a vintage lens but built through the deliberate curation of imperfection and a deep understanding of your tools.
- The choice between sharp/modern and flawed/vintage is not about quality but about narrative strategy—matching the optical signature to the story’s emotional needs.
How to Replicate the Gum Bichromate Look Digitally?
The Gum Bichromate process, a 19th-century photographic technique, is the historical embodiment of this entire philosophy. It was a direct rebellion against the idea of the photograph as a purely mechanical reproduction. By allowing for hand-manipulation of the emulsion, it asserted the photographer as an artist, not a technician. Replicating this look digitally is not about finding the right one-click filter; it’s about honoring the spirit of that manipulation through a deliberate, handcrafted digital process.
A convincing digital gum print isn’t made with a simple texture overlay. It’s built up in layers, mimicking the physical process. This involves separating the image into cyan, magenta, and yellow channels, applying each as a separate “emulsion” layer. High-resolution paper textures shouldn’t just be overlays; they should be used as displacement maps to create an authentic interaction between the “pigment” and the paper fibers. The final touch is hand-painting the irregular, uneven edges with custom brushes, replicating the unique signature of a handmade print.
This painstaking process is the digital equivalent of getting your hands dirty in the darkroom. It rejects the instant gratification of presets in favor of a method that is intentional, layered, and unique to each image. As one Adobe guide on creative techniques puts it, “Gum Bichromate was an assertion of photography as art through hand-manipulation. A digital replication should honor this by being a deliberate, handcrafted digital process.” It’s about bringing the philosophy of curated imperfection into the digital realm.
Your journey into a unique photographic style is not a hunt for a magic bullet lens. It is the slow, deliberate process of building an optical vocabulary, understanding how each “flaw” and “imperfection” can be used to tell a more honest, more resonant story. Start today by looking at your gear not for what it does perfectly, but for the beautiful mistakes it can make on your command.